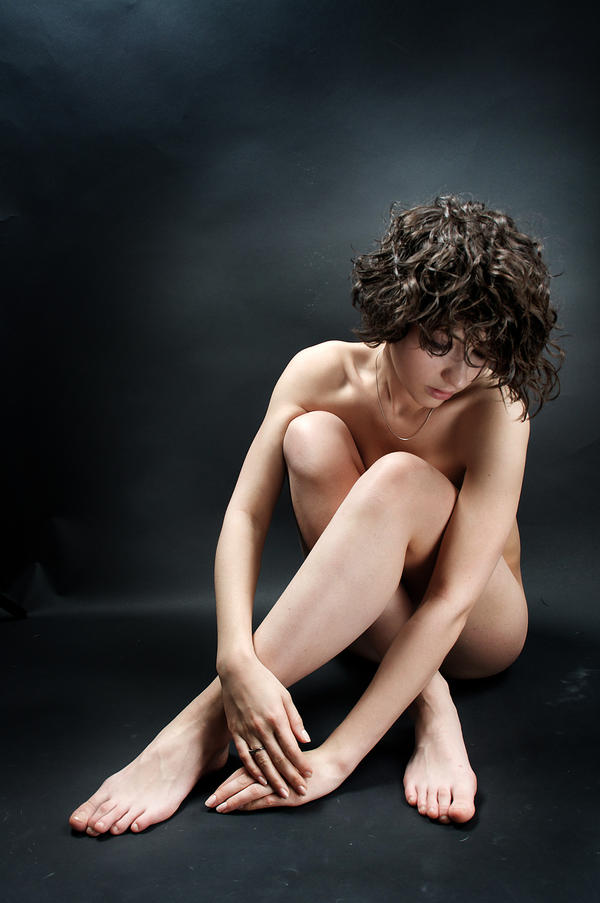
I took special care with the pose modelling to capture the lines as faithfully as possible, carefully placing the limbs as close as possible to each other without overlapping. I reused a short hair style of my own creation.
Here is a screenshot of my version in Blender.
The next important step was deciding how to print it and what kind of support to generate. I used Kisslicer to generate the printer files again, because although a new version of Slic3r has just come out with supposedly much improved support generation, I haven't had time to test it yet.
I decided to to make one change from the settings I used for the previous Birkhofer print and that was so go up from Medium to Dense for the support layer, just to see what would happen.
The other genius idea I had was to turn the print vertically for printing, which changed the position and amount of support material required. If I had printed the model exactly as it appears in the picture above, all of the chest and head would have need support underneath it. By rotating it to a much more vertical angle almost none was needed in these areas.
I was so impressed by the new settings that decided to make another video of the support removal process. You can see how my preferred tool is a flat bladed screwdriver which breaks the weak bonds between model and support with less risk of damage to the delicate areas. The support was certainly more dense than before and, in my view, held the model better whilst still coming away cleanly.
Support removal video
Before and after smoothing
Finished print


