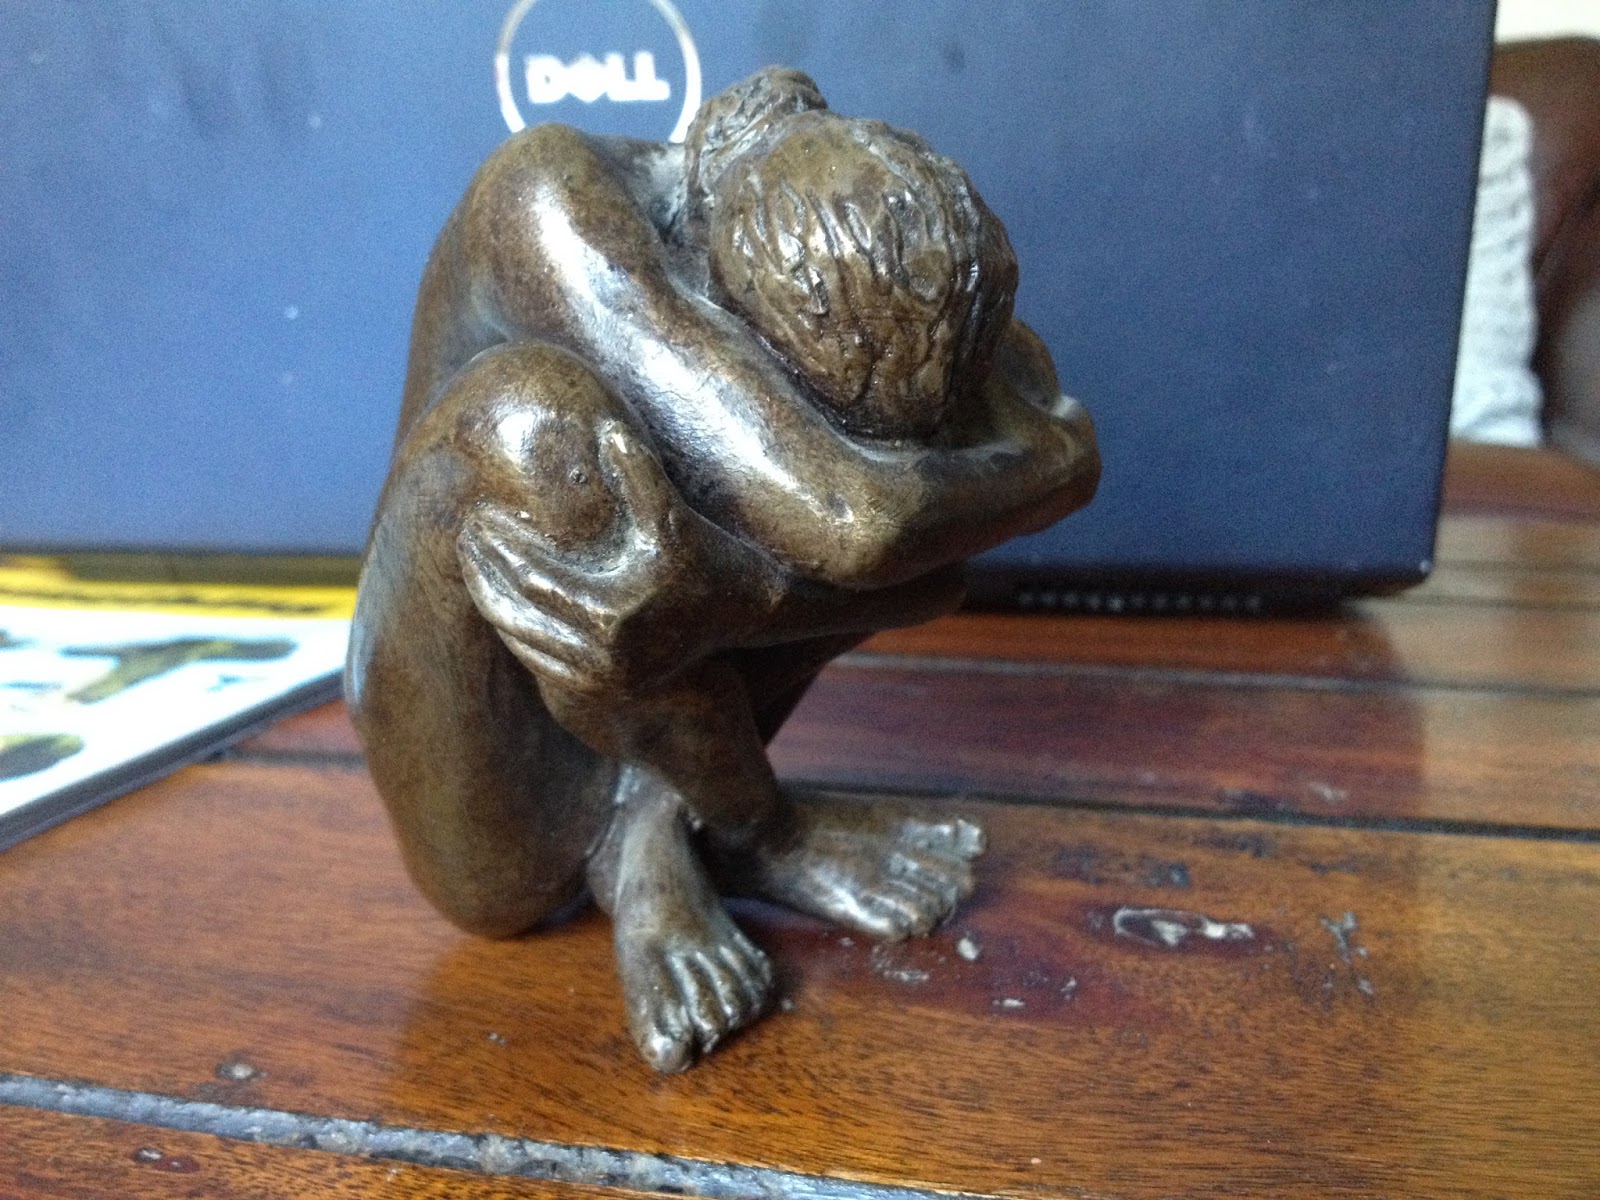
(UPDATE - see Mikhail's comment below)
Character posing software really seems to struggle with extreme shoulder positions and this one was no exception.
I wanted to use Simplify3D again to make use of the excellent support material it generates. However, importing the finished model processed in Blender seemed to show artefacts generated by the eyes and mouth. Cura's Fix Horrible option still does a better job than Simplify 3D in this regard but unfortunately there is no function to export a 'fixed' file.
My standard solution in the past would have been to use Project Miller, the great experimental tool from Autodesk Labs, but it expired and ceased to work on 1st April 2014. Not funny!
Just on the off-chance, I reset my PC's clock to Feb 2014 and started the program up again. Bingo! It works perfectly. I fixed the model, exported a new STL file and loaded it up into Simplify3D. The new gcode looks clean as a whistle. Ready to start printing.
After a 12 hour printing run the print quality is already looking great.
This black ABS plastic always looks nice after smoothing with acetone vapour. Some of the horizontal banding caused by the print layers can become a bit more prominent though, so after breaking away all the support material I decided to try something new and gave the whole model a light sanding with a fine grit sandpaper first.
For models like this, I recommend doing the acetone vapour treatment in two halves. Holding the upper half of the model, I gently lowered the legs into the vapour for about 20 seconds and then set it aside to harden on a ceramic tile. Once the surface was hard to the touch several minutes later, I held the model upside down in the vapour and treated the head and body the same way.
This method gives a nice even smoothing without risking melting the lowest parts into a puddle of sludge.
And here's the original again. How did I do?


.JPG)
.JPG)
.JPG)
.JPG)


.JPG)
.JPG)
.JPG)
.JPG)
.JPG)


