Showing posts with label support. Show all posts

Monday 5 May 2014

Loopback

Another new pose inspired by this photo I found on Pinterest. The original photograph was taken by Mikhail Nekrasov.
(UPDATE - see Mikhail's comment below)


Character posing software really seems to struggle with extreme shoulder positions and this one was no exception.

I wanted to use Simplify3D again to make use of the excellent support material it generates. However, importing the finished model processed in Blender seemed to show artefacts generated by the eyes and mouth. Cura's Fix Horrible option still does a better job than Simplify 3D in this regard but unfortunately there is no function to export a 'fixed' file.

My standard solution in the past would have been to use Project Miller, the great experimental tool from Autodesk Labs, but it expired and ceased to work on 1st April 2014. Not funny!

Just on the off-chance, I reset my PC's clock to Feb 2014 and started the program up again. Bingo! It works perfectly. I fixed the model, exported a new STL file and loaded it up into Simplify3D. The new gcode looks clean as a whistle. Ready to start printing.

After a 12 hour printing run the print quality is already looking great.


This black ABS plastic always looks nice after smoothing with acetone vapour. Some of the horizontal banding caused by the print layers can become a bit more prominent though, so after breaking away all the support material I decided to try something new and gave the whole model a light sanding with a fine grit sandpaper first.


For models like this, I recommend doing the acetone vapour treatment in two halves. Holding the upper half of the model, I gently lowered the legs into the vapour for about 20 seconds and then set it aside to harden on a ceramic tile. Once the surface was hard to the touch several minutes later, I held the model upside down in the vapour and treated the head and body the same way.
This method gives a nice even smoothing without risking melting the lowest parts into a puddle of sludge.


And here's the original again.  How did I do?


Sunday 20 April 2014

Crouch

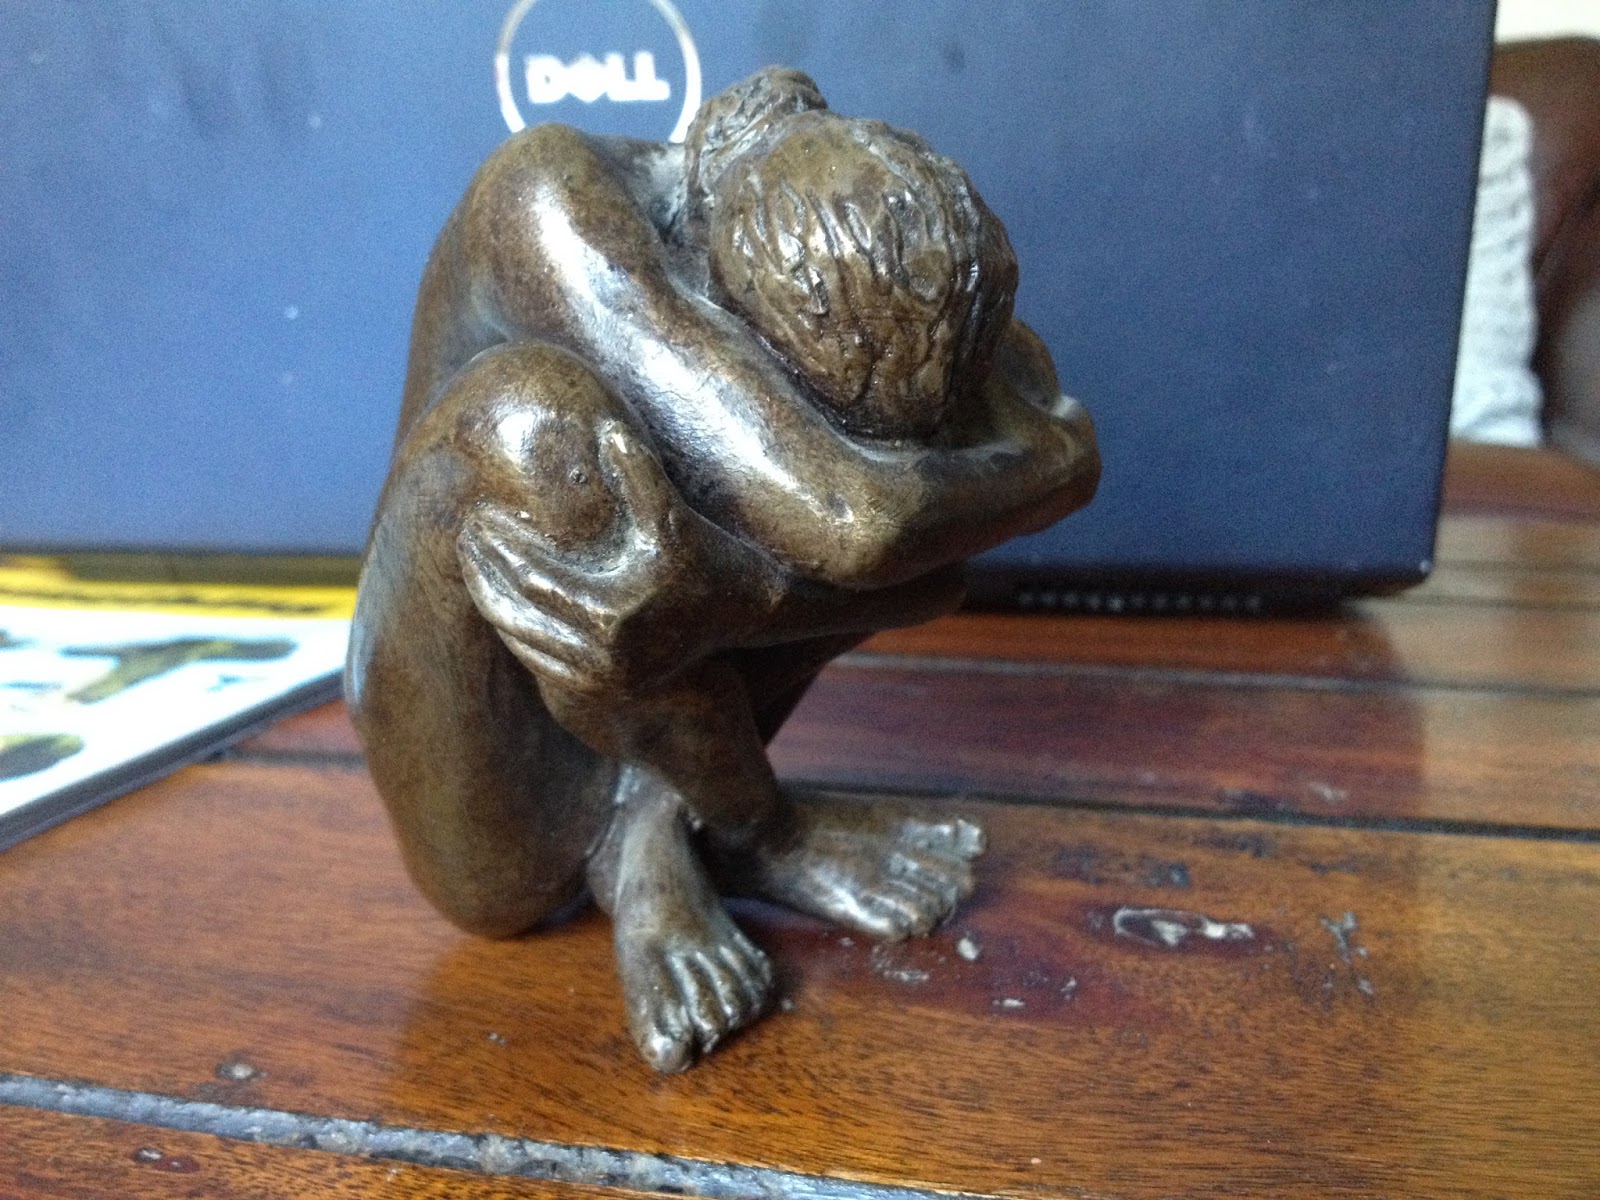
I have a good friend who we visited recently, who has many fine pictures and sculptures in her house, many of them art nudes. One small sculpture on her mantelpiece caught my eye as it looked both original and printable.


Here is the STL file, processed in the usual way, ready for printing.


I used Cura for the slicing, both for its support and ability to fix overlapping meshes (Project Miller has now ceased to function!)
I decided to print in black ABS and use vapour smoothing on the finished print. This version was printed inside the heated chamber at a slow 25 mm/s and 235C. 
There is one small split across the back which I hope will improve with acetone treatment.

Before support removal


After support removal


I have another project in the pipeline (well, in the printer actually), so I'll wait until that's finished and then start a smoothing session on both of them.


Saturday 22 March 2014

Arch

Pinterest continues to be a great source of inspiration for my 3D printed nude figurines. The latest photo I found was this one, which, according to Google image search, was originally taken by L M Hughes.


It's a fantastic pose and a great challenge for a 3D printer.
I set up the pose using my favourite software and then went through the cleaning process, which is now getting quicker as the routine becomes more established. These are the steps I now go through:

  • Export the model as an OBJ file keeping the body and hair as separate objects
  • Import the model into Blender - the hair and body should be separately selectable 
  • Hide the hair temporarily
  • Select the body and go into point edit mode
  • Pick any vertex and then use Ctrl-L to select all linked vertices. Now press H to hide these points. This is a really easy way to identify any internal components
  • Select all of the eyelashes,teeth, gums and tongue and delete them
  • Keep the front of the eyes but delete the iris, lens and non-visible parts.
  • Use Alt-H to un-hide any hidden vertices
  • From the side view, select all the points in the bottom 1-2 mm of the model and scale to zero on the Z axis - this makes a flat base for the model
  • Now in object mode, hide the body and un-hide the hair
  • Add a high density icosphere mesh so that it surrounds the hair
  • Shrink-wrap the sphere around the hair target using the negative projection setting so that all the points move towards the centre until they meet the hair surface
  • Now delete the hair object and keep the sphere which has taken on the shape of the hair, but in a single closed mesh
  • Un-hide the body and save the body and hair together as an STL file
  • Open the STL file in Cura
  • In the Expert settings, use FixHorrible-Type B - this removes any internal holes and prints much more reliably
  • Turn on the default support settings
  • Use Z-lift on retract to stop the nozzle from catching on edges as it travels from area to area
  • I printed at 0.15 mm resolution with some fairly aggressive cooling from a new fan mounted on the hot-end

Here is the printed model with the support structure still attached.


And here it is with the support removed.


Even the top of the foot came out well thanks to some fairly aggressive cooling.


Sunday 2 March 2014

Best supporting act

Now that I have a delta printer that can make taller prints, I decided to go back and revisit one of my earlier designs, Pensive.

This is a model of a nude woman standing upright in a thoughtful pose. The problem I had originally was that when I printed it small enough to fit in the printer, some of the small features like the fingers just wouldn't print. 

My previous solution was to print the model in two halves and weld her back together afterwards. One beneficial side effect of doing this was that I could make the cut at exactly the point where the tips of the elbows start in the upper half. Now that I was able print the full height of the model in one go I realised I was going to need a different strategy for supporting the arms. I also took the opportunity to change the hairstyle for something a little more voluminous and impressive.


 Without a support structure below the elbows, the extruded filament would simply fall to the bed when the nozzle reached that point.

One method would be to turn on the support feature in the slicing software but this rather crude method would result in a large amount of additional material being placed in many unnecessary areas.

Instead I decided to try the latest version of Meshmixer which allows individual pillars to be placed, manually or automatically, underneath the areas that need supporting.


I didn't like the positions of the automatically placed supports and so I opted to add my own scaffolding exactly where it was needed.

Here is a picture of an early test piece, 175 mm tall with a rather excessive amount of support material still in place.


Having proved that the method worked, I decided to go for a larger version 250 mm tall. This one worked even better. Printed in white PLA at 0.2 mm layer height taking 19 hours.


 I think that this method of support placement could be extremely useful in future and should make it  possible to print many other difficult poses.


Tuesday 25 February 2014

Kayleigh

One of the most beautiful poses I've seen recently on Pinterest was this one.


It had been repinned many times, so clearly other people agreed with me, but wasn't being properly credited. I used Google image search to track down the original version and discovered that the model is Kayleigh Lush.


I used my favourite character modelling software to emulate the pose (not exactly right, but good enough to capture the spirit of the picture, I hope) and then exported an OBJ file. I then used Blender to correct the orientation and scale and to flatten the base and remove the eyelashes, before exporting an STL file.


Here is the screen capture of the 3D model in Blender.


This time I used Project Miller again to select the external surfaces of the model, then used Kisslicer to generate the gcode file with full support turned on and printed in white PLA from Faberdashery at 0.15 mm resolution. 

Another pretty successful print, in my view.


With hindsight, it might have been better to have sliced with Cura and used the expert setting called 'Fix Horrible' - type B, which closes all internal holes and deals much more nicely with limb overlaps. Maybe next time.

Tuesday 18 June 2013

Body Language

I have just completed one of my best projects so far. It was inspired by another great Bruno Birkhofer photo called Body Language.


I took special care with the pose modelling to capture the lines as faithfully as possible, carefully placing the limbs as close as possible to each other without overlapping. I reused a short hair style of my own creation.

Here is a screenshot of my version in Blender.


The next important step was deciding how to print it and what kind of support to generate. I used Kisslicer to generate the printer files again, because although a new version of Slic3r has just come out with supposedly much improved support generation, I haven't had time to test it yet.

I decided to to make one change from the settings I used for the previous Birkhofer print and that was so go up from Medium to Dense for the support layer, just to see what would happen.

The other genius idea I had was to turn the print vertically for printing, which changed the position and amount of support material required. If I had printed the model exactly as it appears in the picture above, all of the chest and head would have need support underneath it. By rotating it to a much more vertical angle almost none was needed in these areas.


I was so impressed by the new settings that decided to make another video of the support removal process. You can see how my preferred tool is a flat bladed screwdriver which breaks the weak bonds between model and support with less risk of damage to the delicate areas. The support was certainly more dense than before and, in my  view, held the model better whilst still coming away cleanly.


Support removal video


Before and after smoothing


Finished print


Tuesday 4 June 2013

Recline further

I decided to persevere with Recline and try to fix some of the problems.

Following an invitation from Sublime to try his calculator (see the comments in Recline), I learned that my setup could work better at 0.2 mm layer height if I increased the extrusion width from 0.4 to 0.48 mm. That should certainly help to improve layer bonding somewhat.

I also reasoned that the delamination in the first print had been caused by excessive part cooling with the fan. I know, I know. ABS isn't supposed to need a cooling fan but I still believe that with steep overhangs it just prints a bit better with one; I just had it turned up a bit too high.
The next problem to work on was the fingers. I started another couple of prints and both times the fingers failed again. Something different was going on here.


I thought about this for a long time and eventually came up with three ideas for possible solutions.
Firstly, the way that I had splayed the fingers out made the overhang angle more than 45 degrees. Changing the pose slightly to make the fingers more vertical should help.
Secondly, I had changed the support gap setting in Kisslicer from 0.5 mm to 1 mm to try and make it easier to break away; I suspected that this was actually making the support less supportive, so I put it back to 0.5 mm.

Finally, it dawned on me that the only thing supporting the fingers was the weak interface layer attaching them to the raft. This hadn't been a problem with Curl because there were relatively large areas attached to the raft but this print was quite literally clinging on by its fingertips, and in the end the lateral drag of hot plastic from the rapidly moving nozzle was proving too great for the weak bonds. The solution for this print was to abandon the raft and find a better way to get the fingertips to stick to the bed. 

One option I considered was to print the model on a plinth. This would provide the strongest and most reliable base but wasn't really in keeping with the rest of the series so I decided to keep it in reserve. 
Eventually I resorted to my favourite method which has worked well in the past. I went back into Blender, opened the model in point edit mode and used 'Box select' to highlight all the points in the bottom millimeter of the model and then used Scale Z 0 (zero) to flatten the bottom of the model and finally moved all the selected points up a little to the most natural position.
A liberal splash of ABS juice on the printbed and I was ready to have another go.

This time it went much better. No serious delamination at all and the fingers are looking much more solid. The left thumb appears to have shifted and reconnected at the base, but this should be relatively easy to repair.


Now I just need some time to do the support removal and acetone vapour bath.


Monday 22 April 2013

Bridge

I've been seeking inspiration for my next prints. Pinterest has some interesting collections of artistic nude photos (although it claims that it doesn't allow them) and I'm sure I will choose one of theirs soon. However, another great resource is DeviantArt, a site I have followed on and off for some years. It was there that I found a great shot by TarMoo called Art Nude Symmetry.


It's quite a striking photo which inspired me to try and reproduce the pose which I have decided to call 'Bridge'.

With its minimal points of contact and absolute requirement for support material, it was clear that I would need to start with a raft and, ideally, print in ABS. Whilst photos can only be seen from the specific angle selected by the photographer, sculptures can be viewed from any angle chosen by the viewer. Unusually for me, I decided that this particular model deserved a leotard to protect her modesty. I'll see how the print turns out and decide whether to do a fully nude version later.
The model in this photo has her hair in a simple bun which works well for this image. I tried making a bun but I didn't like the look of it. I also tried short and long hair styles but they didn't really work with this heads-down position. At the moment the model doesn't have hair but, again, I may decide to review this after the first test print.

Sunday 17 March 2013

Metamorphosis


This weekend I created a new sculpture based on the photo of Edward Watson performing in Kafka's The Metamorphosis. I tried to reproduce the pose as accurately as possible and was very pleased with the result.

 I had hoped to print the sculpture without turning on the automatic support feature in the slicing software, but as soon as I had finished posing the model it was clear that this would not be possible. As well as the shallow slopes on the thigh and arm, there were points, on the tip of the chin and the underside of the breasts, that had nothing beneath them. 

I used Kisslicer to turn the STL model into printer instructions and enabled medium support. This time I decided to try printing at 150 micron resolution to reduce the visibility of the layers. I also wanted to find out how well the support material could be removed from a PLA print so I used a translucent blue filament for the 12 hour print.


The support material was more difficult to remove from PLA than with the grey ABS, but after a bit of work it came away surprisingly cleanly.
Here is a quick video of the model on a turntable to show it from all angles.


And here are a few photos.