Saturday, 31 May 2014

Leaning back

The second new print was inspired by one of the many great pictures I came across in Bella Donna's Tumblr blog. I should warn you that it is NSFW, but it is a beautifully curated collection.


This is one one of many archive photos and sadly there are no details of the photographer. Performing a Google image search didn't help me on this occasion.

There are many invisible details that I have had to use my imagination for, such as the position of the feet in relation to the head and the expression on the model's face. It was a great challenge though and resulted in a nicely printable model.

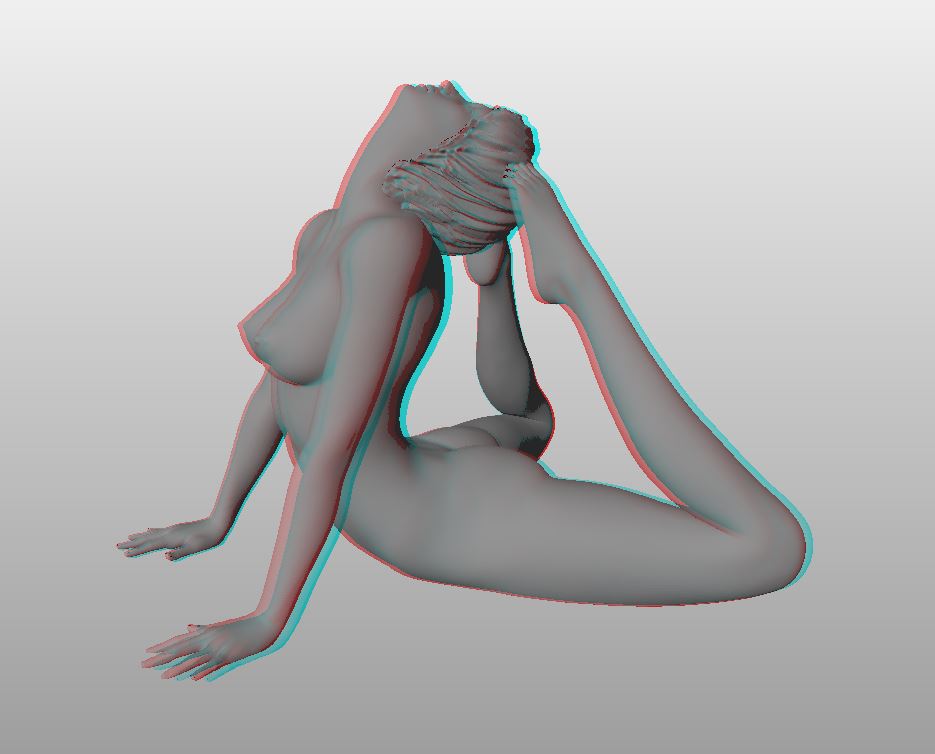
Here's a side view of my digital version in red-cyan anaglyph mode (which I've just discovered you can do in NetFabb!). Dig out those glasses and have a preview.


This model just happens to be close to the exact proportions of my printer's printable volume, so this could turn out to be one of my largest models yet. At a layer height of 0.1 mm and a total print height of 125 mm this is going to take 18 hours to print. Keeping everything crossed for this one!

OK, printing successfully finished and here she is (iPhone included for scale).


Reflections

Here is the first of three new prints I have been working on recently.


'Reflections' came to my attention when Bruno Birkhofer posted a different picture on Google+ last week. All his pictures are beautiful but, once again, it was one of his black and white portraits that inspired me to try another sculpture.

Modelling the pose in my favourite character modelling program was fun, as usual, but it proved particularly tricky to place the hands in exactly the right position. Several of the joint movement ranges have to have their range limitations turned off just to get close. 

In a moment of over-zealous optimism I decided to replicate the model's facial expression and kept the eyes closed but the mouth open. This involved a significant amount of cleaning up in Blender for a detail that ultimately proved too small to show in the final print. 


Not to worry - one day I may be able to sell these models and perhaps I'll even be able to afford a nice high-resolution DLP printer like the Kudo3D and then they will look even better.

I'm now getting the hang of using Simplify3D to slice my models so that the support material is placed where it's needed. The only thing I got wrong this time was placing insufficient support underneath the ponytail. The tip broke free during printing but fortunately the print managed to correct itself leaving enough to look reasonably OK.

Here's a couple of photos of the final print using translucent coffee-coloured PLA from 3D Filaprint, at 0.1 mm layer resolution with support enabled.

Close-up reproducing the pose in Reflections


The full model, showing a nice reflection of its own


Monday, 5 May 2014

Loopback

Another new pose inspired by this photo I found on Pinterest. The original photograph was taken by Mikhail Nekrasov.
(UPDATE - see Mikhail's comment below)


Character posing software really seems to struggle with extreme shoulder positions and this one was no exception.

I wanted to use Simplify3D again to make use of the excellent support material it generates. However, importing the finished model processed in Blender seemed to show artefacts generated by the eyes and mouth. Cura's Fix Horrible option still does a better job than Simplify 3D in this regard but unfortunately there is no function to export a 'fixed' file.

My standard solution in the past would have been to use Project Miller, the great experimental tool from Autodesk Labs, but it expired and ceased to work on 1st April 2014. Not funny!

Just on the off-chance, I reset my PC's clock to Feb 2014 and started the program up again. Bingo! It works perfectly. I fixed the model, exported a new STL file and loaded it up into Simplify3D. The new gcode looks clean as a whistle. Ready to start printing.

After a 12 hour printing run the print quality is already looking great.


This black ABS plastic always looks nice after smoothing with acetone vapour. Some of the horizontal banding caused by the print layers can become a bit more prominent though, so after breaking away all the support material I decided to try something new and gave the whole model a light sanding with a fine grit sandpaper first.


For models like this, I recommend doing the acetone vapour treatment in two halves. Holding the upper half of the model, I gently lowered the legs into the vapour for about 20 seconds and then set it aside to harden on a ceramic tile. Once the surface was hard to the touch several minutes later, I held the model upside down in the vapour and treated the head and body the same way.
This method gives a nice even smoothing without risking melting the lowest parts into a puddle of sludge.


And here's the original again.  How did I do?


Wednesday, 23 April 2014

Photo finish

Here are some photos of the prints from 'Casual undress' and 'Crouch' after finishing with the acetone vapour smoothing process.


Monday, 21 April 2014

Casual undress

Right, I think it's time for an Entiresia original.

I have a pose in mind and I'm going to have a go at creating it from scratch. I want the woman to be relaxing casually on her side, head propped up on one arm with the other hand reaching forwards and resting on the floor. I also want the knees tucked up a bit and both feet resting on the floor.

I started by positioning the right arm and then the head and neck. Next, I added a bit of forward bend, lateral flexion and slight rotation of the spine, to make the right hand side form a straight line, as if lying on the floor. The model was then rotated almost 90 degrees to the right, into the reclining position. The breasts were repositioned slightly to show the effect of gravity pulling from the right side and then the legs and the left arm were placed in contact with the floor.


This pose was also designed with 3D printability in mind, so should require a minimum amount of support.

I did the slicing in Cura with my usual setting of 0.15 mm layer height and 25 mm/s print speed, although I think I could have gone a bit faster. The steep angle on the left forearm caused a bit of curling of the leading edge so I had to use a small amount of cooling fan (sometimes it helps, even with ABS) to prevent the nozzle from crashing into it. I took the temperature up to 240C this time and was very pleased to discover that this print has absolutely no sign of splitting anywhere.


After a bit of sanding to clean up the support marks I took this series of photos, making the most of the low morning sun - vapour smoothing to follow soon, I hope.


Sunday, 20 April 2014

Crouch

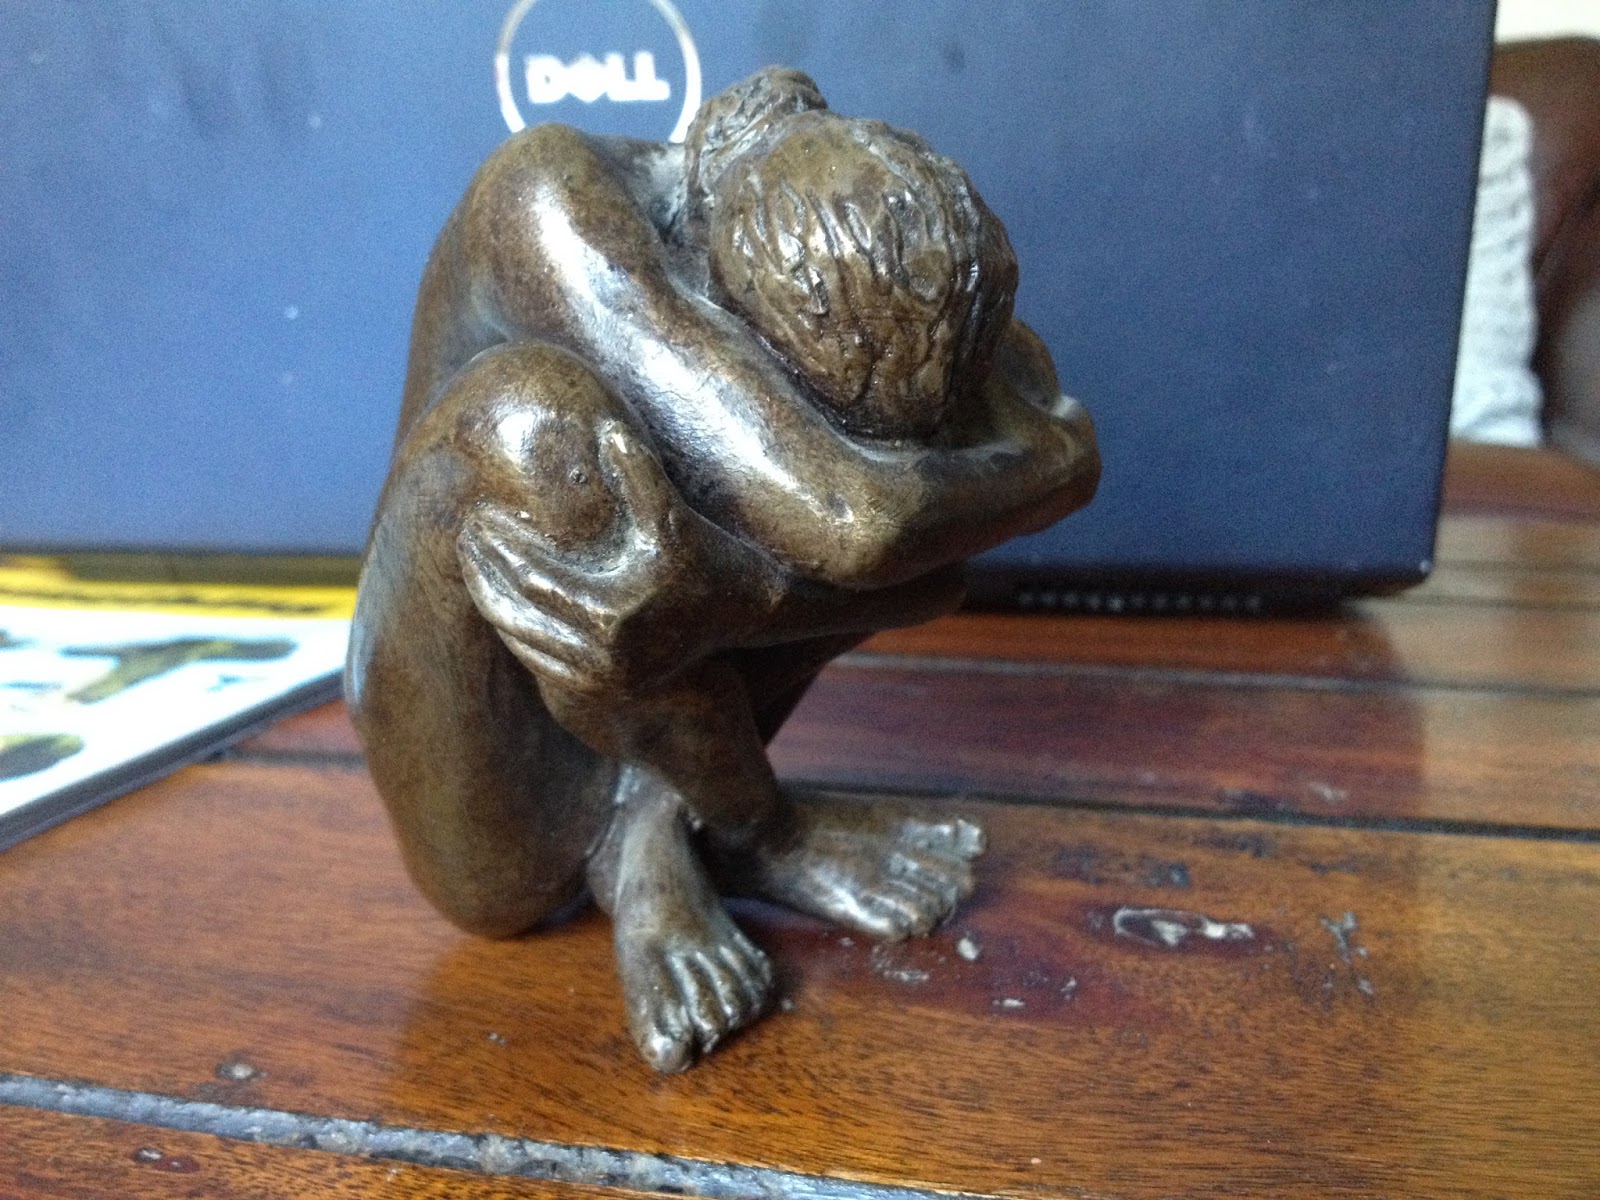
I have a good friend who we visited recently, who has many fine pictures and sculptures in her house, many of them art nudes. One small sculpture on her mantelpiece caught my eye as it looked both original and printable.


Here is the STL file, processed in the usual way, ready for printing.


I used Cura for the slicing, both for its support and ability to fix overlapping meshes (Project Miller has now ceased to function!)
I decided to print in black ABS and use vapour smoothing on the finished print. This version was printed inside the heated chamber at a slow 25 mm/s and 235C. 
There is one small split across the back which I hope will improve with acetone treatment.

Before support removal


After support removal


I have another project in the pipeline (well, in the printer actually), so I'll wait until that's finished and then start a smoothing session on both of them.


Saturday, 29 March 2014

Contact

How about this amazing pose in another photo I found on Pinterest
It appears to have come from the Raw Moves collection by photographer, James Houston.

I love the point of contact of the feet, which reminds me of some of the abstract works of Henry Moore or Jean Arp.


I think it will print OK. I'm just not sure how well it would translate into a female pose. 


What do you think?


Well, I had to give it a go, didn't I! As it turned out, getting the pose right was the easy part. I increased the muscle tone a bit and shaped the breasts into a position that suggest they are hanging in the correct direction.
Finding a way to actually print the model proved much more challenging.

Here is a view of the model in MeshLab.


The biggest problem was the contact point of the two big toes - I just knew that the tiny point of contact would be incapable of supporting the weight of the top leg growing upwards above it without breaking. After experimenting with several different ideas and some abortive prints, I decided to cut the model across the middle and print it in two halves. Finding the best place to make the cut took several attempts but the final solution turned out to be the obvious one - cut exactly between the two big toes at the contact point.

Here is the model in Cura, ready for slicing. I used MeshMixer to generate the support structures because it allowed me to place them exactly where I needed them.


And here is the same view in Repetier Host, showing the Gcode file ready for printing.


OK, it's finished! I had to reprint the leg because the toes broke on the first try due to poorly positioned supports. After cleaning them up in Blender I had another go and it came out much better.
I printed in PLA and after cleaning up the support material I used superglue to join the two halves together.

Straight from the printer, supports still attached.


Front view, reproducing the original pose.

Viewed from the back.


There are some nasty blemishes left behind where the supports were removed and I've also noticed that I'm getting more Z-banding on the models than I used to see. Maybe time to think about tuning up the printer again.