Sunday, 10 May 2020

Some catching up - Belovodchenko and Barbati

This blog has been a little neglected by me over the last year, but seemingly not by all of you, since the number of views recently passed the 150,000 mark. That's an awful lot of exposure! So, to say 'thank you' to all of my visitors, I wanted to share some of my recent creations with you.

I am still using Daz Studio to generate the posed models and export the OBJ files which means I'm afraid I still can't share the models with you. Increasingly, I am sculpting my own hair designs in Blender 2.80 and one day maybe I'll be able to create a full model of my own.

Since posting Tam, I was featured in an article for 3D-Tisk.cz  by Jan Homola - if you view it in a Chrome browser, Google translate does a good job of showing you the article in your own language.


My next project was inspired by another photo that looked as though it would need a minimal amount of support material to print. It comes from a series called Bodyscape Art by Anton Belovodchenko and I hope he won't mind me reproducing it here.


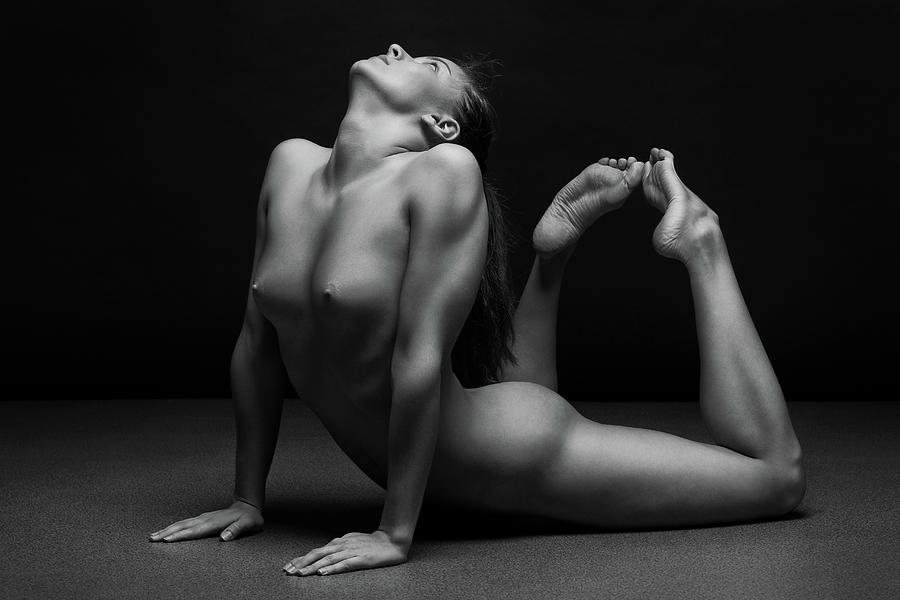
The pose was relatively straightforward to reproduce and, as expected, the print doesn't need any support material at all. The hair was completely hand-sculpted in Blender with the long ends curled up in the small of her back.


Overall, a very satisfying print that I am very pleased with.


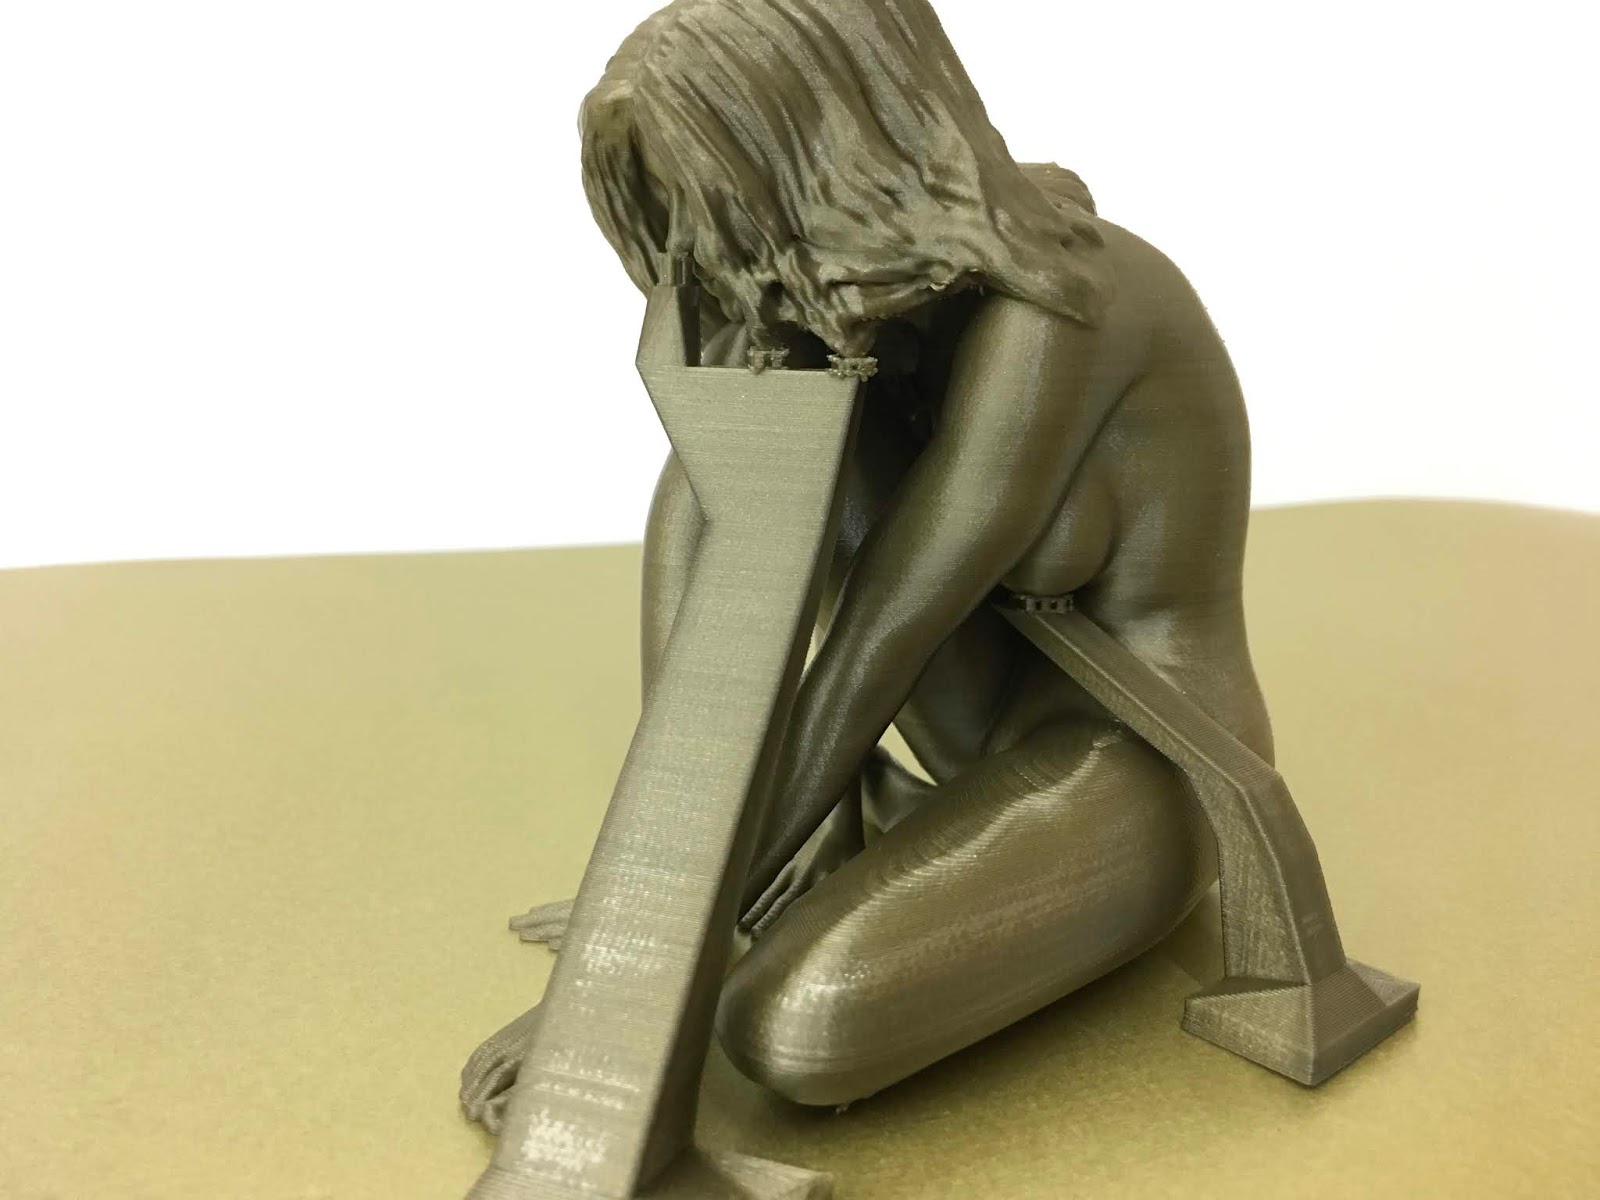
The other sculpture I've been working on was inspired by a photo that I found on Pinterest by Niki Barbati. I can't find it now so I'll have to share the copy I found and hope that Niki likes my tribute enough to allow me to share it here.


I re-imagined this model with long hair that reached to the floor and predicted that, once again, no support material would be required to print it.

Here is the model I created using Daz Studio and Blender.


And here is the finished print in bronze PLA.


I liked this one so much that I printed a second copy in some new Fillamentum Mukha PLA which looks stunning.


So, that's now all up to date. I'd better start planning the next sculpture and looking for some printspiration.

Thursday, 3 October 2019

Tam

I've been wanting to sculpt this pose for a long time. I love the intertwined limbs and the opportunity to rest the chin on the knee to avoid using support material. I think the photo is by Tam Nguyen but I haven’t been able to locate it online. 


This type of pose is sometimes called an ‘implied nude’ because the breasts and genitals are not visible in the photo. This doesn’t usually affect the 3D version, of course, since a sculpture can be viewed from any angle, but in this case the only way to pose the figure is with the breasts compressed by the limbs.

My first attempt worked out OK as a pose, but failed as a 3D print because I tried to make the hair out of individual strands and the retractions just ground up the filament - should have guessed!

So I reverted to my tried and trusted formula of selecting a nice hairstyle and then shrink-wrapping and resculpting it in Blender.


I chose a nice metallic grey Fillamentum PLA filament for this print and sliced the model with Simplify3D. The print was made on my new Sapphire-S coreXY printer from twotrees adapted with a Flex3Drive extruder system. This keeps the print-head as lightweight as possible, giving some of the smoothest prints I've ever achieved.


I'm particularly pleased with how well the sculpted hair has printed on this model. It can still be improved further, though, and I'm working on that. The second version, lower down this page, has more detail sculpted in the flatter areas.


I had to add automated support material in a couple of places - under the left breast and the left front part of the hair. Unfortunately, this did leave some nasty scarring visible on the thigh and abdomen, which I was unable to hide. This set me thinking about other ways to add support.

It occurred to me that one way to avoid the ugly scars left after removing support material would be to try and construct a sort of platform sitting over the left leg on which the support could then rest. I fired up Blender and came up with these pieces of scaffolding.


The larger piece supports the nose and the dangling strands of hair. The smaller piece supports the underside of the left breast.


The innovation here is that I realised I could combine manually created scaffolding that projects into difficult to reach areas, with auto-generated support provided by the slicer to fill in the last few millimetres.
By using this approach, I can scale the model up to any size without having to worry about the support gap - it will always be perfect for my printer because the final gap is still decided by the slicer software.


Both support pieces broke away cleanly from the model leaving no scarring anywhere on the thigh or abdomen - a much cleaner result!
Notice in the picture below how the small chunks of auto-generated support sit on top of the large manually created blocks.


You can also clearly see here how much better the hair looks now with the extra detail sculpted into it.